Applies to iOS version 1.9.x or later, Android version 1.9.x or later
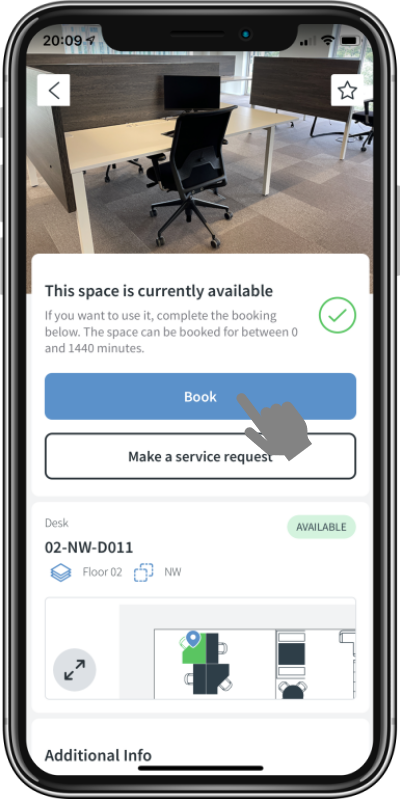
This article explains how you can easily book a space once you have found it. When you arrive at a space either via the search or by directly scanning a space, you will be presented with the space information page. If the space is bookable you will see a Book button as below.
Clicking on the button will bring up the Booking Summary page which has been updated in this latest release. The page presents the user with the following
- By default the name of the booking will be named "Booking", but the user can enter in their own name for the booking. Note that this will then be used in the related calendar appointments where configured in your deployment
- The start and end time of the booking can be specified.
- The date of the booking can be altered as required.
- If the space to be booked is multi-occupancy, an attendees entry will be available which will allow the user to add visitors and other Roamer users.
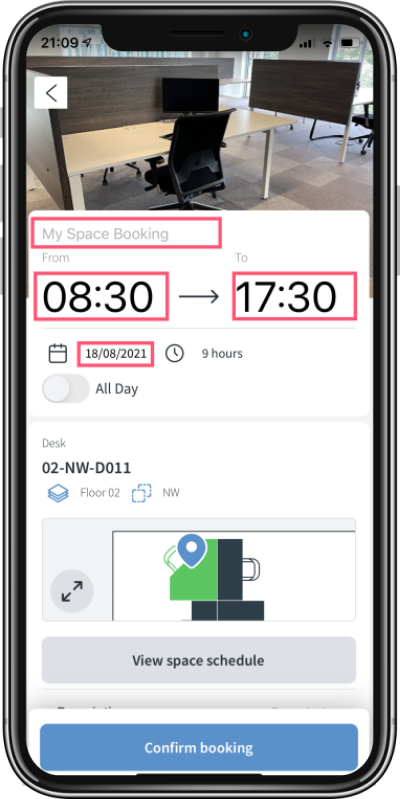
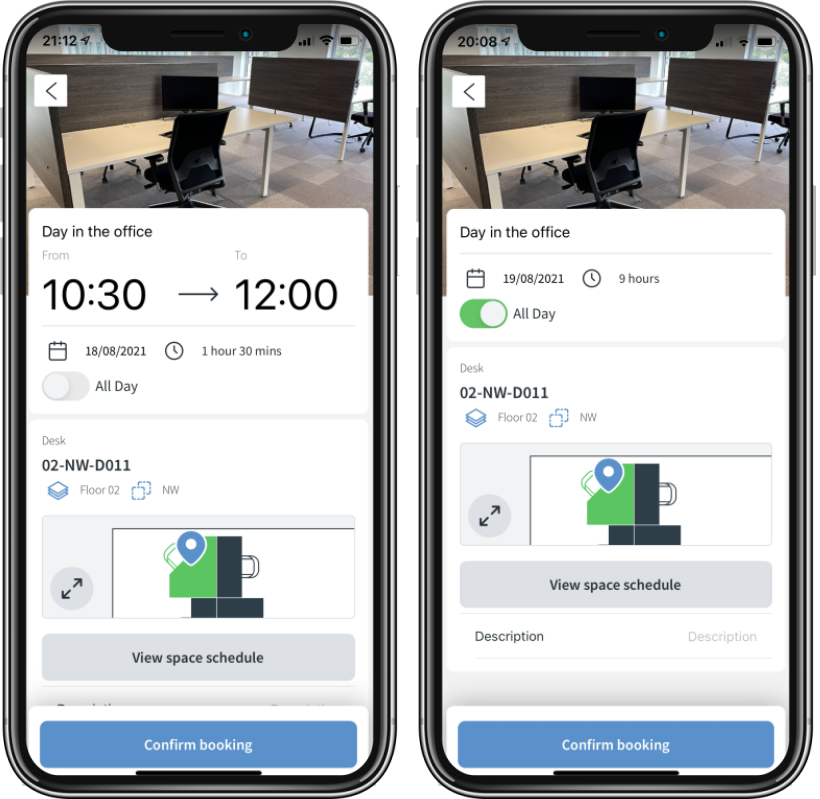
If you would like to view the booking schedule for this space, tap on the View space schedule button. Finally, if you select the All Day toggle, the space will be set to an all day booking which will be based on the user start and end time.
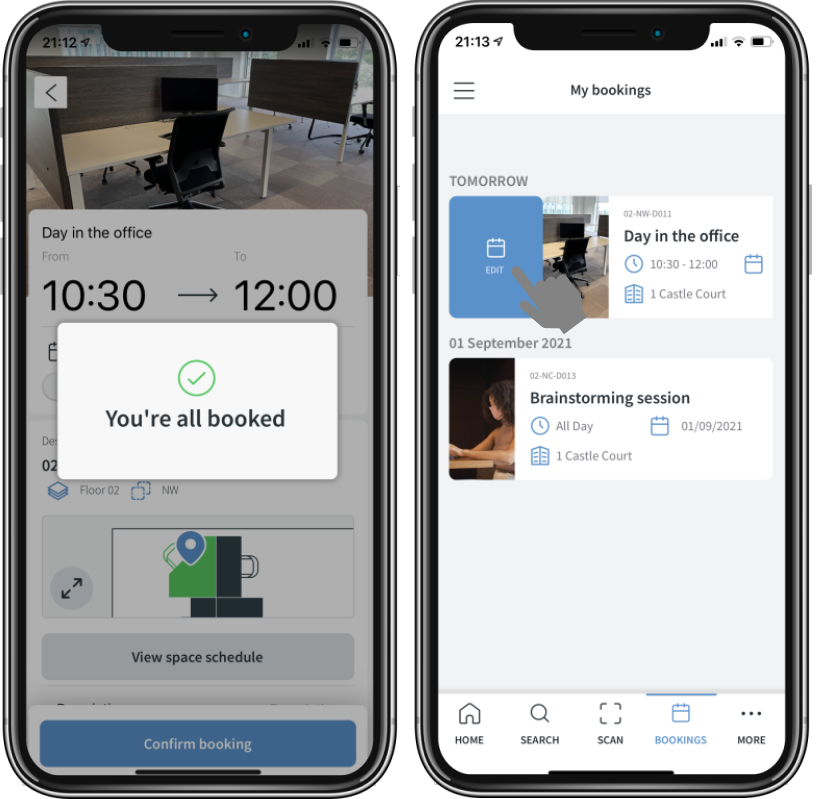
Confirming the booking will book the space and if successful will take the user to their Bookings menu where the booking will be shown. To edit the booking swipe right and click the edit button.
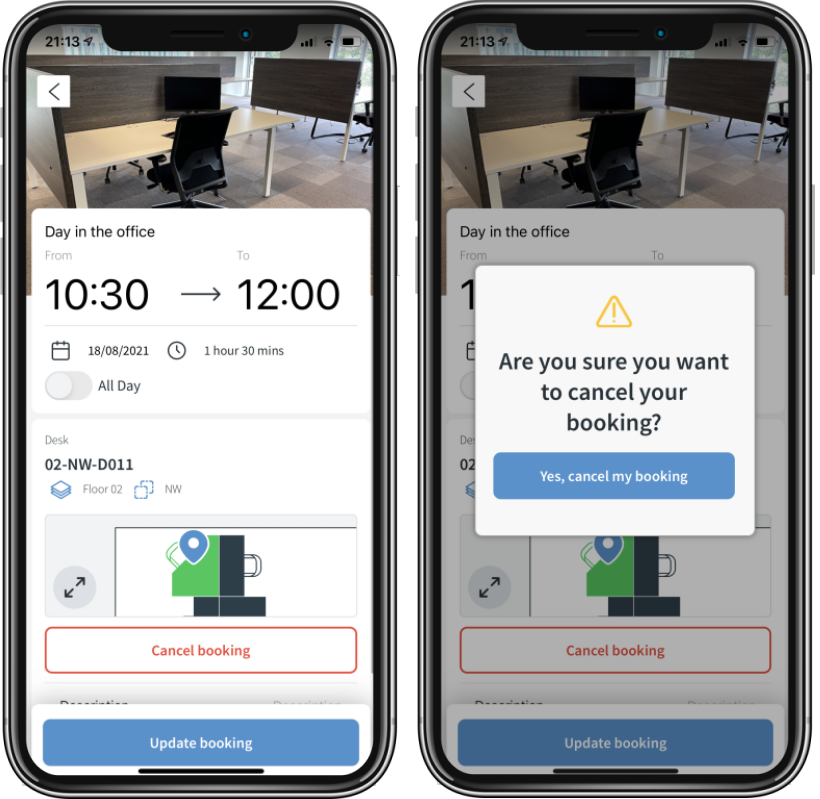
The edit booking summary page looks as below, where the user can amend any of the booking details. Clicking the update booking button will update the booking, whilst clicking the cancel booking button will cancel the booking.
NOTE: Cancelling a booking is also directly available from the bookings menu by swiping left on a booking.