

Feature available in app version 2023.02 onwards.
Your organisation chooses whether cost codes are applicable for the entire organisation at all and for your role. In IBSS apps, cost codes are used with bookings and catering. There are then three scenarios:
- Your organisation is not using cost codes. You won't see this option when creating bookings and ordering catering.
- Free-form cost codes.
- Predefined cot codes grouped as your organisation chose it.
Free-form cost codes (v1)
If your organisation chose to use this type of cost codes, you'll enter your cost code(s) manually each time. In this case, OneLens won't show a separate Cost Codes page for managing cost codes.
For predefined cost codes (v2)
Depending on the role permissions that are set up for you under API > Cost codes > V2 and building permissions, you may be able to view predefined cost codes list and modify them. In Admin Portal, under Setup > Roles & Data Security > App Settings, when a user role is selected, you or admin defines what exactly this role is allowed to do with cost codes: read, delete, edit, or lock.
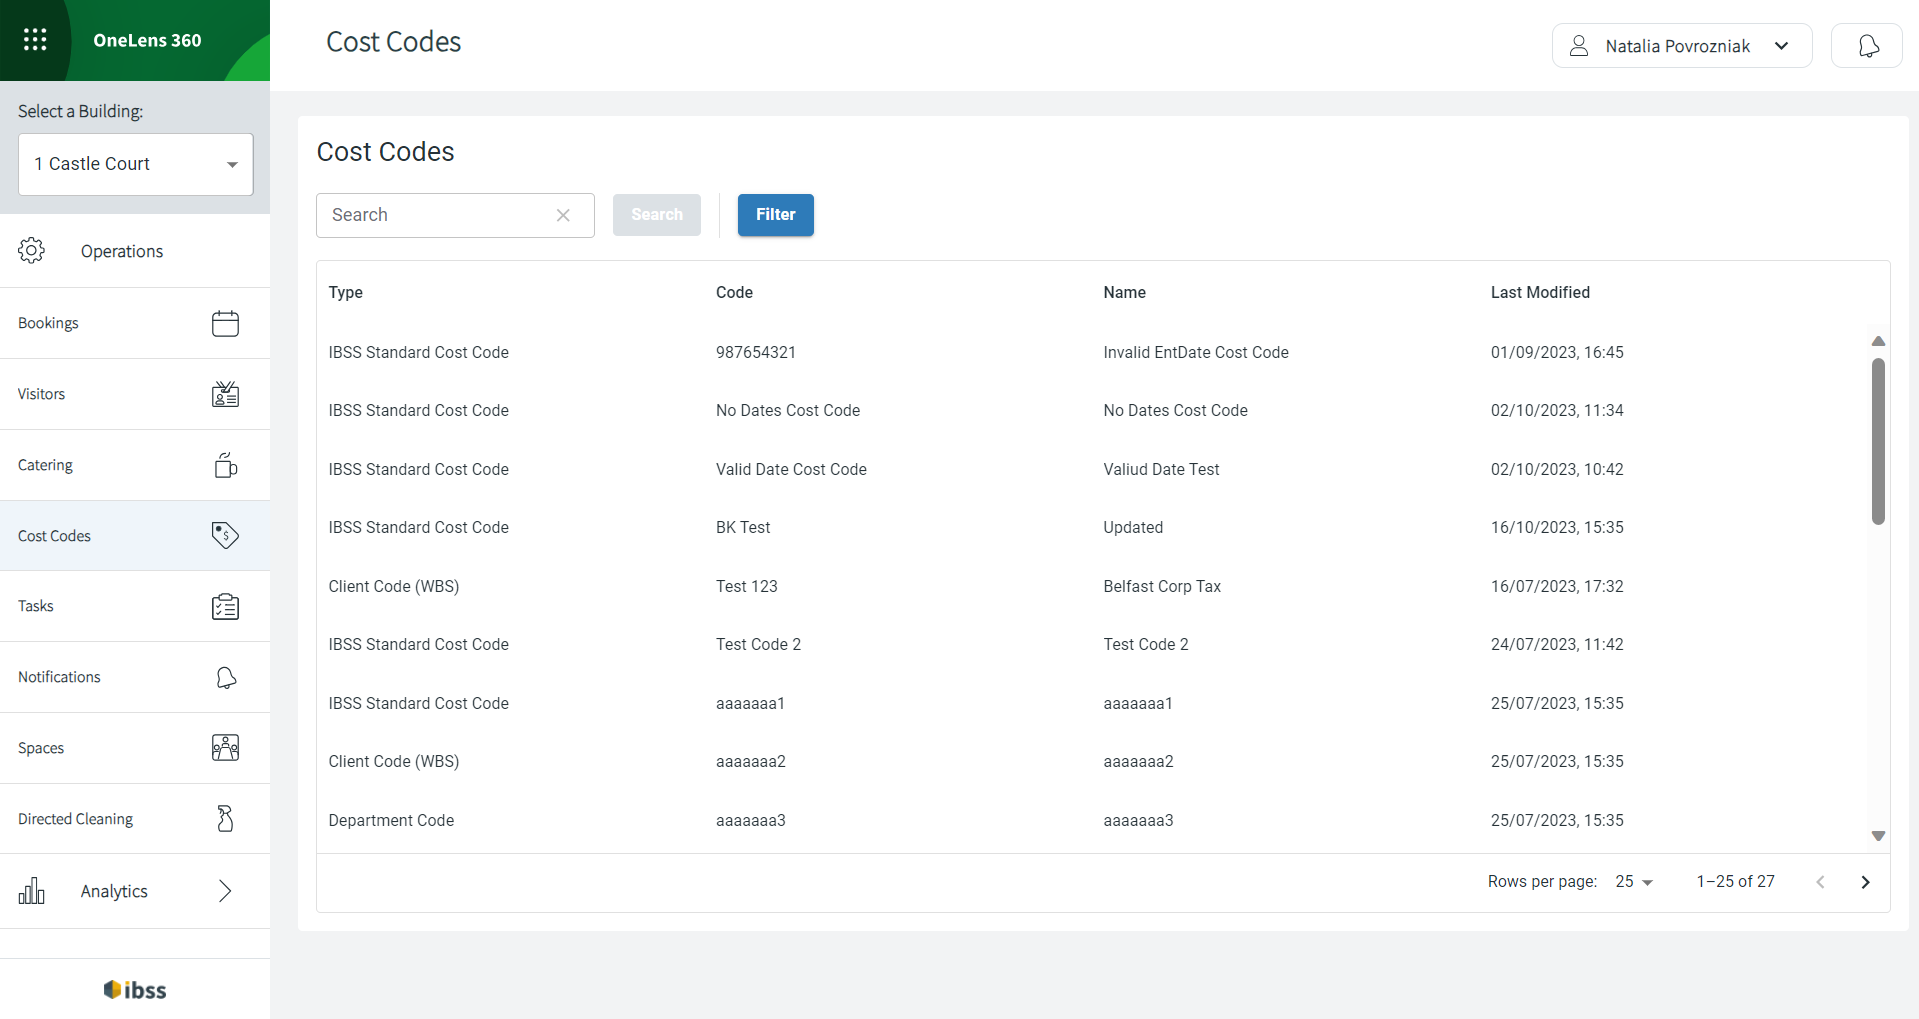
The Cost Codes page lists all predefined cost codes for your organisation. You can search them by code value or filter them by type and source depending on how your organisation chose to group them.
To use cost codes, add one or more cost codes when making a space booking or editing it. You can later edit cost codes when editing a booking.
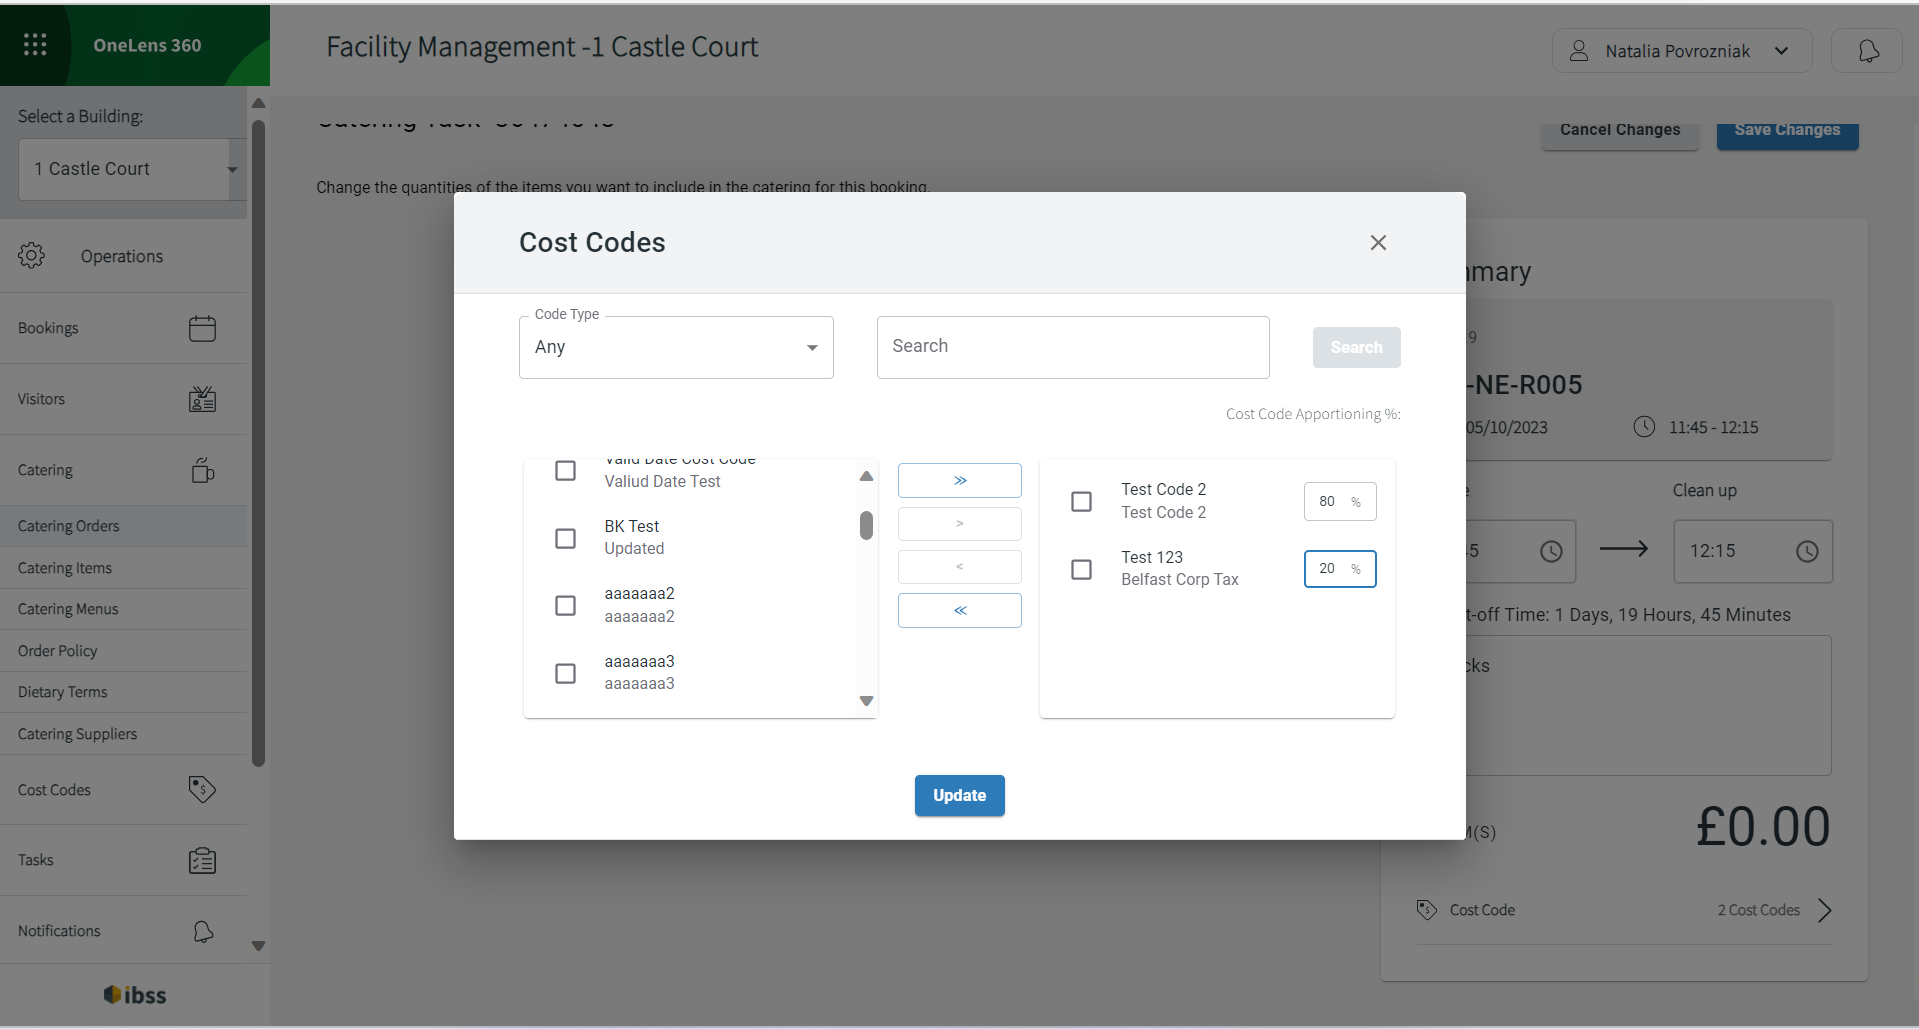
Add one or more cost codes when creating a catering order or editing it. When editing a catering order, do this:
- Select a catering order that needs changes to cost codes.
- Click view (eye) icon to view its details.
- Click Edit Catering.
- Add cost codes and their apportioning in percentage along with other details that you might need for this task. Total apportioning must equal 100%.
If you are adding a booking for a user, who has their default cost codes set up, you'll see those cost codes in the right column as already added. - Click Update to save your changes.
👋 Share your feedback with us about this documentation. Highlight a word or a whole paragraph and click the plus icon that appears. We keep improving this knowledge base based on your comments.
🚩 If the new users have issues with logging in to Flex or OneLens 360 and cost codes are expected, contact IBSS Customer Support. The issue can be related to their incomplete user preferences.