Customise visitor passes per building for your organisation. In Admin Portal, you can set up or change the template that is later used by operational users in OneLens to print a default or your custom visitor pass.
Note: Visitor passes are not security credentials. They are convenience passes designed to streamline check‑in and optionally provide temporary QR‑based entry.
Grant permission for OneLens users to use Print Pass
To allow OneLens users to use the Print Pass function on the Visitor List page, do the following:
- Select the appropriate role to grant this permission to. Go to Admin Portal > Setup > Roles & Data Security > {Role name} > App Settings tab.
- Grant the permission to print passes for visitors under ONELENS360.OperationalServices.VisitorPass.
⚠️ This permission is only available with the app version 2025.01. For earlier app versions, contact Customer Support team to enable this permission for the relevant roles. - Add corresponding building permissions in the right column of this page.

- Click Save to enable the selected permission.
Get the HTML file for passes
Prepare an HTML file with a visitor pass template. You can create your own file or use our suggestion:
- Open and save our suggestion as an HTML file and give it strictly the name badge.html: 💾 badge file
- Or copy it from our code sample:
<!DOCTYPE html>
<html lang="en">
<head>
  <style>
    body {
      font-family: Arial, sans-serif;
      margin: 0;
      padding: 10;
      background: none;
    }

    .visitor-pass {
      margin: 0px;
      padding: 20px;
      border: 1px solid #000;
      border-radius: 10px;
      height: auto;
      width: auto;
    }

    .visitor-pass-title {
      margin-bottom: 20px;
      background-color: #CC9617;
    }

    .visitor-pass-info {
      font-size: 14px;
    }

    .visitor-pass-field {
      padding-top: 15px;
    }

    .visitor-pass-label {
      font-weight: bold;
      line-height: 1;
    }

    /* Define print styles */
    @media print {
      @page {
        _size: 105mm 58mm;
        /* A7 landscape */
        /* size: 74mm 52mm; /* A8 landscape */
        margin: 1mm;
        /* Adjust the margin as needed */
      }

      .visitor-pass-title {
        color: #FFFFFF;
        background-color: #000000;
      }

      _div {
        break-inside: avoid;
      }

      .pageBreak {
        page-break-after: always;
      }
    }
  </style>
  <meta charset="UTF-8">
  <meta name="viewport" content="width=device-width, initial-scale=1.0">
  <title>Visitor Pass</title>
  <link rel="stylesheet" href="styles.css">
</head>

<body>
  <div class="visitor-pass">
    <h1 class="visitor-pass-title">Visitor Pass</h1>
    <div id="visit-logo">c/Badge/Client.png</div>
    <div class="visitor-pass-info">
      <div class="visitor-pass-field">
        <span class="visitor-pass-label">Name:</span>
        <span class="value" id="visitor-name">John Doe</span>
      </div>
      <div class="visitor-pass-field">
        <span class="visitor-pass-label">Company:</span>
        <span class="value" id="visitor-company">ABC Ltd.</span>
      </div>
      <div class="visitor-pass-field">
        <span class="visitor-pass-label">Date:</span>
        <span class="value" id="visit-date">2023-10-09</span>
      </div>
      <div class="visitor-pass-field">
        <span class="visitor-pass-label">Time:</span>
        <span class="value" id="visit-time">10:30 - 12:30</span>
      </div>
      <div class="visitor-pass-field">
        <span class="visitor-pass-label">Host:</span>
        <span class="value" id="visit-host">Tony Smith</span>
      </div>
    </div>
  </div>
  <div class="pageBreak">
  </div>


</body></html>
⚠️ Important things to note:
- Style your passes within the style tag according to your corporate guidelines or as you wish them to look like. You can also add your style sheet separately. Remember to have unique class names for a visitor pass not to be later overridden by other styling in OneLens.
In the example above, we use this prefix for classes: visitor-pass- - Keep the file name strictly as badge.html, including the lower case for the whole name.
- Use the logo image as embedded or referenced style.
- Make sure that the page break (<div class="pageBreak"></div>) is at the very bottom of your HTML code. This is essential for printing several passes in one go.
- Pay attention on how you change the following part as it changes how printer will print out the pass:
  <meta charset="UTF-8">
  <meta name="viewport" content="width=device-width, initial-scale=1.0">
  <title>Visitor Pass</title>
  <link rel="stylesheet" href="styles.css">
Add the HTML file to the IBSS system
Now, the prepared badge HTML file needs to be added to the system for your organisation to use:
- In Admin Portal > Manage, select the needed building where the new Visitor Pass should be used.
- Go to File Management > Common.
- Click Add on the top right.
- Click Select File and locate your HTML file with the visitor pass template to add it to the system.
- Indicate the following path for the file to be properly fetched: c/Badge/{building-id}/badge.html
For example: c/Badge/55/badge.html
⚠️ Other file path or name will not work for printing visitor passes. Keep this naming strictly. - Click Ok.
Also, remember to upload the file with the logo image that you want your passes to fetch to the same Badge folder if you are using a referenced image for your logo. Use the same steps to upload it as for the badge HTML template.
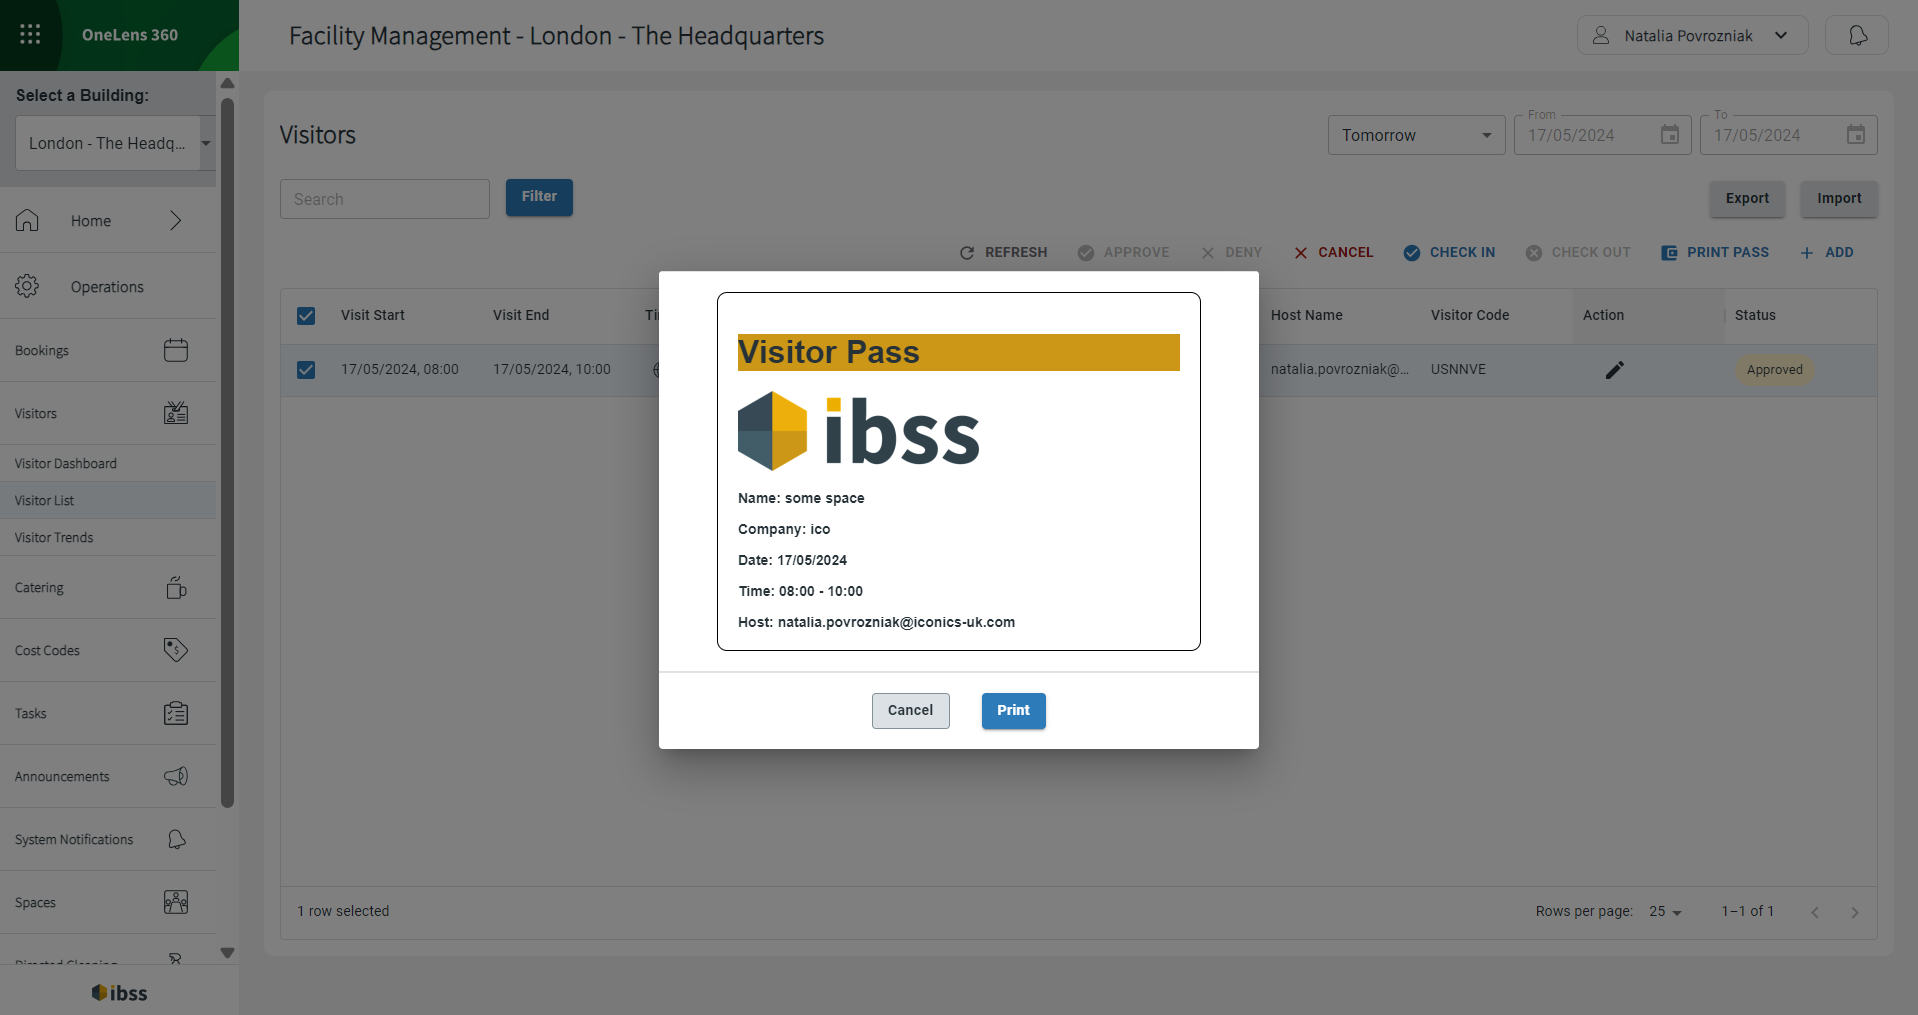
Now, operational users of your organisation can print visitor passes with per building templates. In our example it will look like this: