

Applies to app version 2023.01 with the following features added in the next releases:
- 2024.01 Default cost codes
- 2024.02:
- Updated look of the page
- Tags for booking records
- Multiple bookings
- 2024.03:
- The Who are you booking for? field to support booking as a delegate or on behalf of a visitor.
- User name reference above the search results column to indicate who you are going to book for.
- The Booking Attendance field to inform operational team about upcoming visitors.
- Auto check in toggle for booking on behalf of someone.
- Space information and space guides are now accessible by clicking an icon on the space card.
- Booking start time adjustment according to booking policy.
- Multiple catering orders per one space booking.
- 2025.01
- Alternative space suggestion if no search results
- Need Events space criterion during search
- Marking a space as favourite
- Visitor Type field when adding a visitor
- 2025.02 API.Bookings.UnlimitedCapacity permission to override the space capacity limitation
👋 Share your feedback with us about this documentation. Highlight a word or a whole paragraph and click the plus icon that appears. We keep improving this knowledge base based on your comments.
In Flex, you can create a standard booking for your nearest working day, an ad-hoc space booking, a series of bookings with or without any pattern, and add needed services or equipment to your booking where available. For meeting room bookings, you can also choose the capacity and layout to accommodate the special needs you might occasionally have.
About the Advanced Booking page
Flex offers a separate page for bookings that have more conditions than a one-time space booking. The Advanced Booking page in Flex helps you book a recurring meeting or a linked space with a certain layout along with adding services if needed.
Booking a space starts with searching for an appropriate space using available search criteria. Space search results are based on:
- Access permissions for spaces that your organisation has defined for you. Space results will list only spaces where you are allowed to book.
- Your user preferences for the building, floor, and workspace type for today, and the booking would start at the nearest time of your working day – today (if you're booking earlier than your working day starts) or tomorrow (if it's now past your working day start time). See also about user preferences here: Settings in Flex.
On the Advanced Booking page in Flex, start by adding as many search criteria as you have to filter out applicable spaces for your booking. After you've found the space that you'd like to book, you can tap the space information icon to view information that might impact your choice:
- The associated booking policy
- Additional space information
- Space guides if available
ℹ️ At this point, you can also add the space to your favourites. As you have the space information popup open, click on the star ⭐ in the upper right corner. This way, if available at the time of your search, your favourite space will be higher up in the search results list next time you search for the same criteria.
System adjustment for booking start time
⚠️ Note that your organisation can set Allowed time range per building that will allow start time adjustments for your bookings to match booking policy requirements. You will see the corresponding notification if the start time of your booking differs from what you searched for. View the difference in time on the example below.

Making a booking
One-time booking
You can create a one-time space booking for a single use on the Advanced Booking page. However, we recommend creating such bookings with no distraction on the Simple Booking page in Flex. Read more here: Simple booking in Flex.
When creating a single booking on the Advanced Booking page, date selection by the system has the following logic:
- If current time is before start time of working day preferences, the date is set for today. Read more about working day preferences here: Settings in Flex
- If current time is after start time of working day preferences, the date is set for the next day.
In any case, you can change the date manually.
Now, you are all set and can view your booking under Schedule > My Bookings.
Advanced booking
Your steps to create a booking will differ slightly depending on what and for how long you're trying to book. Here are the options:
- Advanced Booking − Booking for right now (ASAP)
- Advanced Booking − Recurring booking
- Advanced Booking − Multiple bookings without any pattern
After you've made a booking
You can modify your bookings. Read more about this here: Modifying a booking in Flex.
Booking Approval. Some spaces may have an approval flow enforced by your organisation in the corresponding booking policy. Typically, these spaces are high-value boardrooms or other unusual spaces within your building. After you make a booking of such space, you will see your booking status still as New in green, just like other bookings under Schedule > My Bookings. Meanwhile, the responsible person will make a decision whether to approve or decline your booking. You will receive a corresponding notification about this.
Checking in
When you have a space booking, make sure to check in before your meeting within the allowed early check-in period that is set by your organisation. Also, mind the automatic checkout of the space if you don't check in.
Note: Checking in to a booking via Flex is security controlled by your organisation. Due to the business policy, it may not be possible to check in to bookings remotely in Flex.
You can check in to your bookings or to bookings made on your behalf. For this:
- On the Schedule > My Bookings page, click the pencil icon next to the upcoming booking that you want to check in.
- Click the Check In button on the left under the space details.
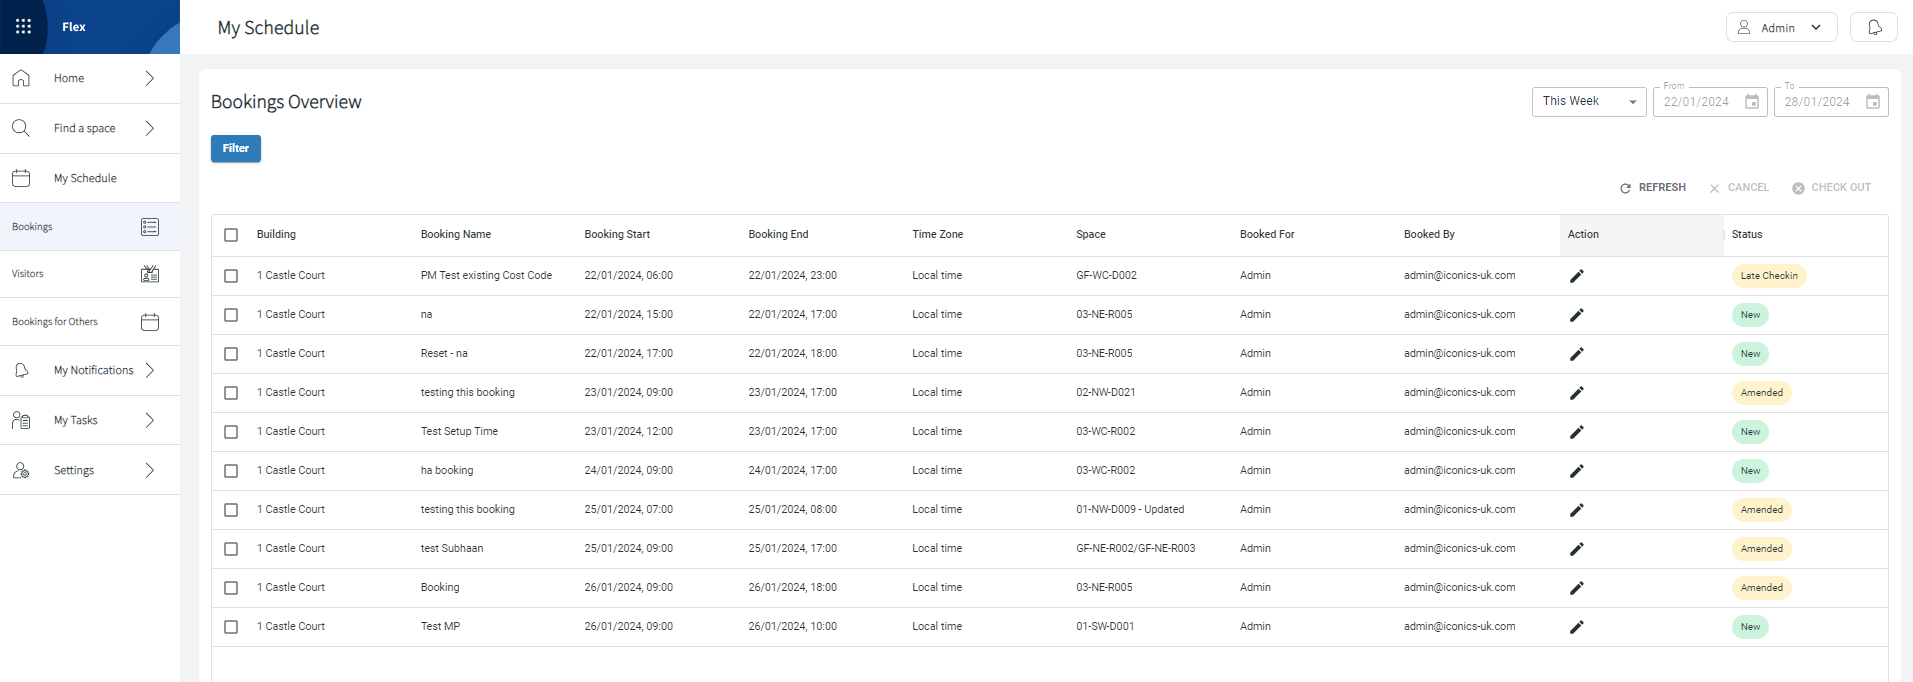
Checking out and cancelling
After your meeting or if you've finished your meeting early, remember to check out of the space to make it available to others.
If you don't need the booking any longer, make sure to cancel it and free up space for someone else. Go to Schedule > My Bookings, select the needed booking, and click CANCEL in the top right corner of the table with your bookings.