

Applies to app version 2024.02 onwards.
The File Management page in Admin Portal can be used to add, download, and remove files to be used within Roamer, Unity, Inspire, and IBSS hub apps.
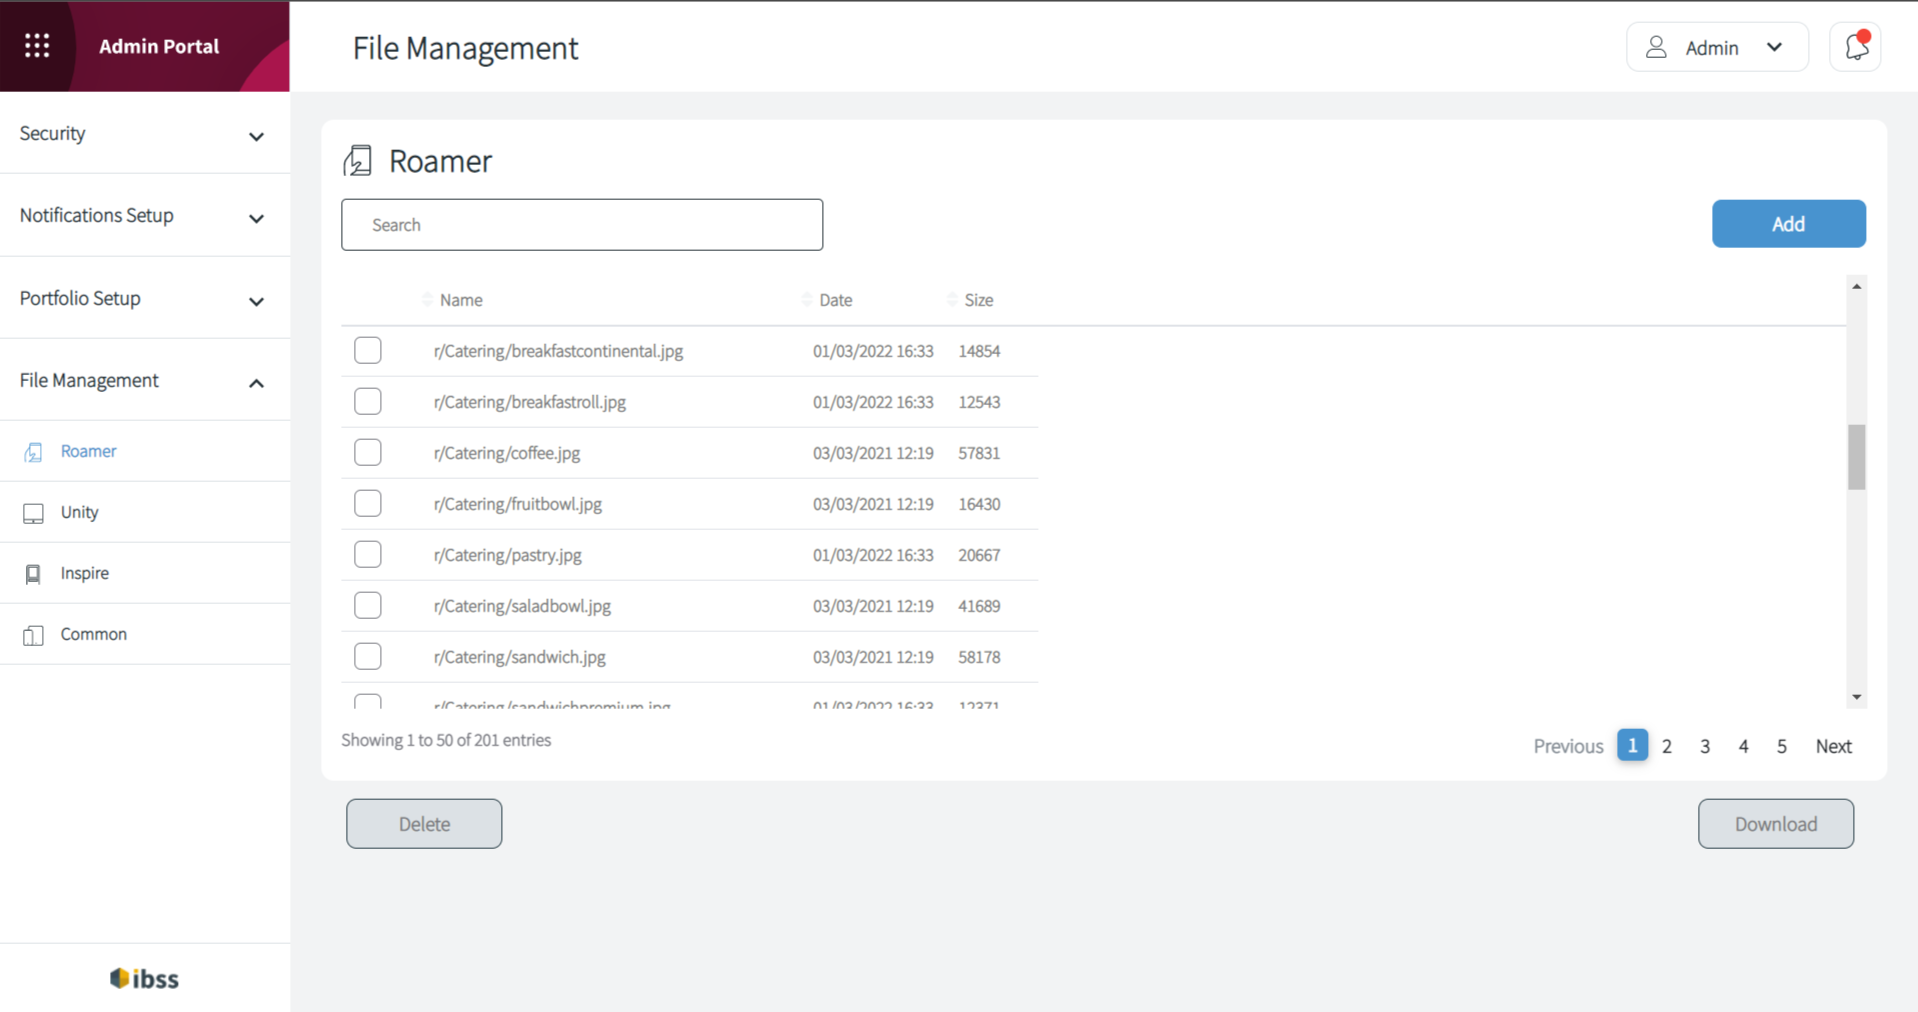
Adding a file
To add a file:
- Click the Add button in the top right of the screen. The following popup will open:
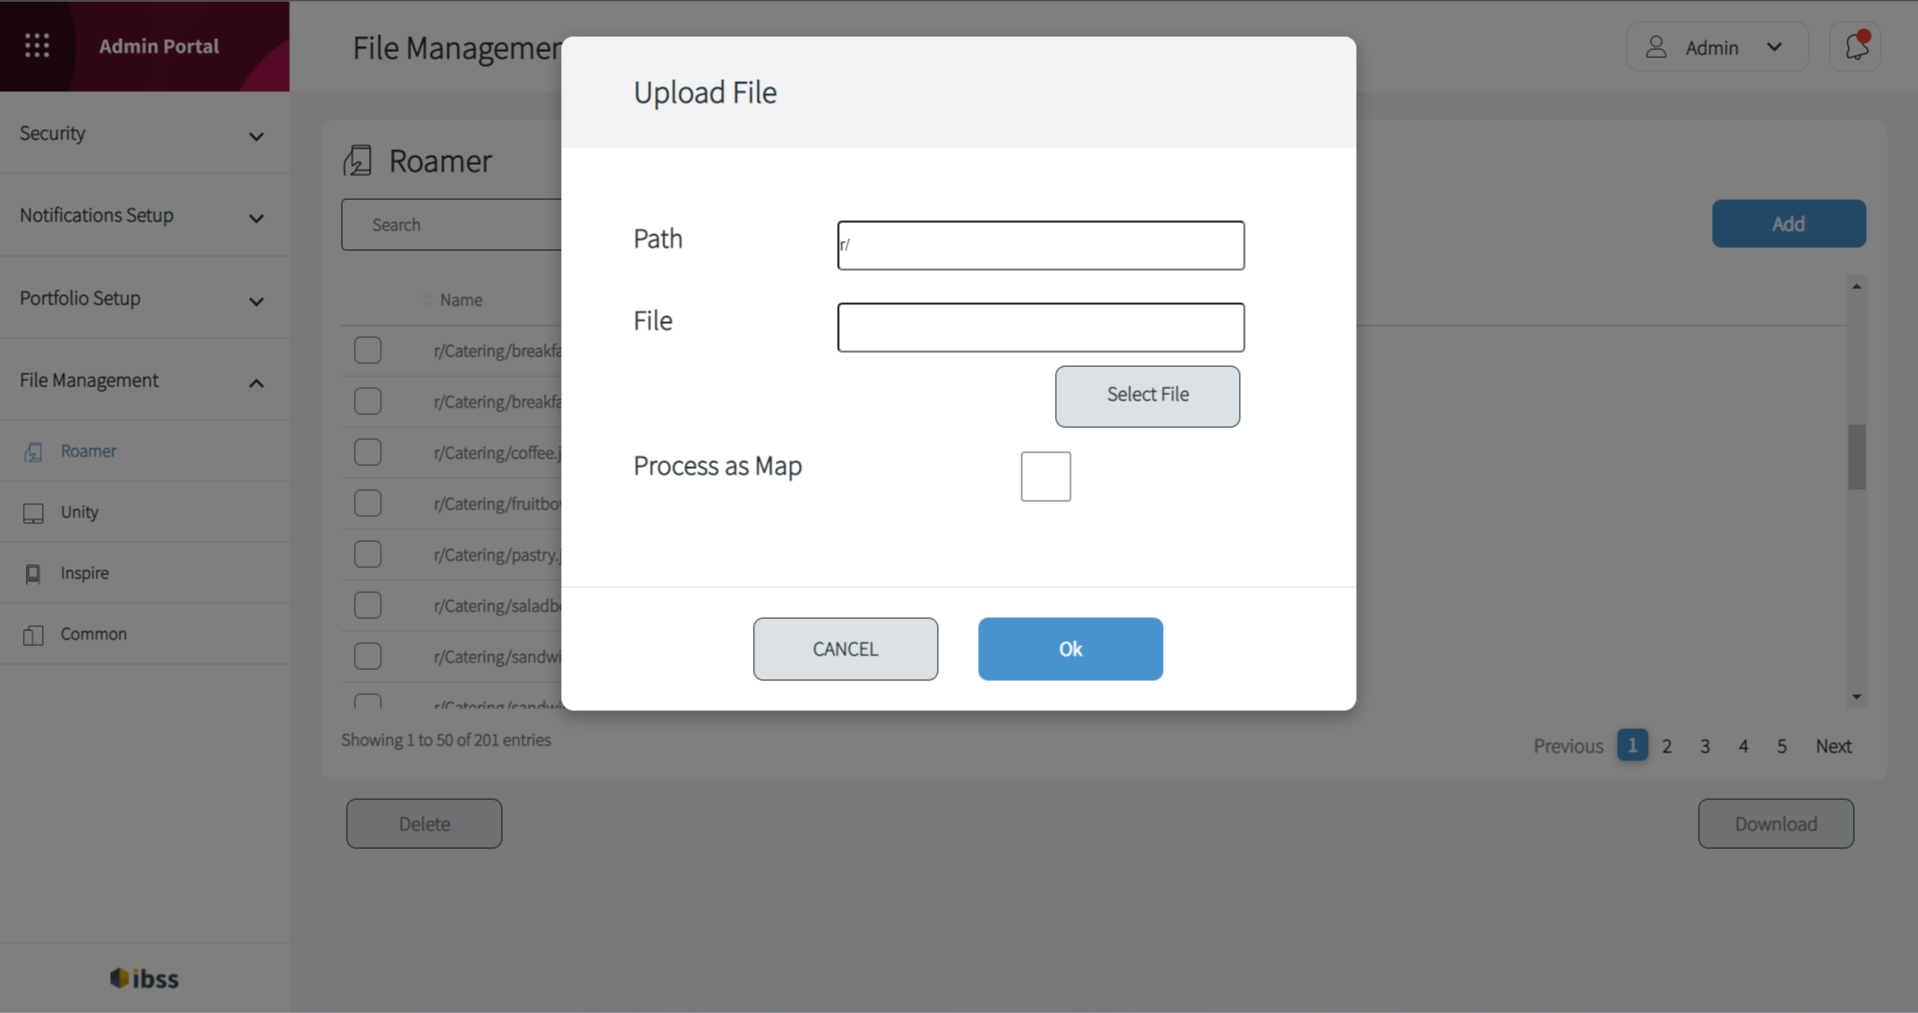
- Here, click Select File and select the file that you wish to upload.
⚠️ If the file is a map, select the Process as Map checkbox. In this case, a new Refresh Nodes Cache checkbox appears for you to enable newly uploaded maps for your organisation. If you process several maps, refresh the cache along with uploading the last map file.
- Ensure that you path is as follows for different file formats:
- For Maps: r/Maps/[File Name].
Note: All map files must be in the SVG format. - For Hero images: r/BuildingImages/[File Name]
- For Notification images: r/Notifications/[File Name]
- For Catering images: r/Catering/[File Name]
- For Tag images: c/Tags/[File Name]
Note: For images, use the PNG format only. he images in SVG format won't render. - For custom branding: c/logo/[File Name]
- For visitor badges: c/badge/badge.html
- For Maps: r/Maps/[File Name].
- Click Ok to confirm uploading the file.
Downloading a file
To download a file, select the file row that you wish to download, click the Download button, and save the file.
Removing a file
To remove files, select the file row that you wish to delete, click the Delete button, and confirm that you wish to delete the file.